
Free your Mind
UNIVERSAL TILT & SHIFT & SWING SYSTEM
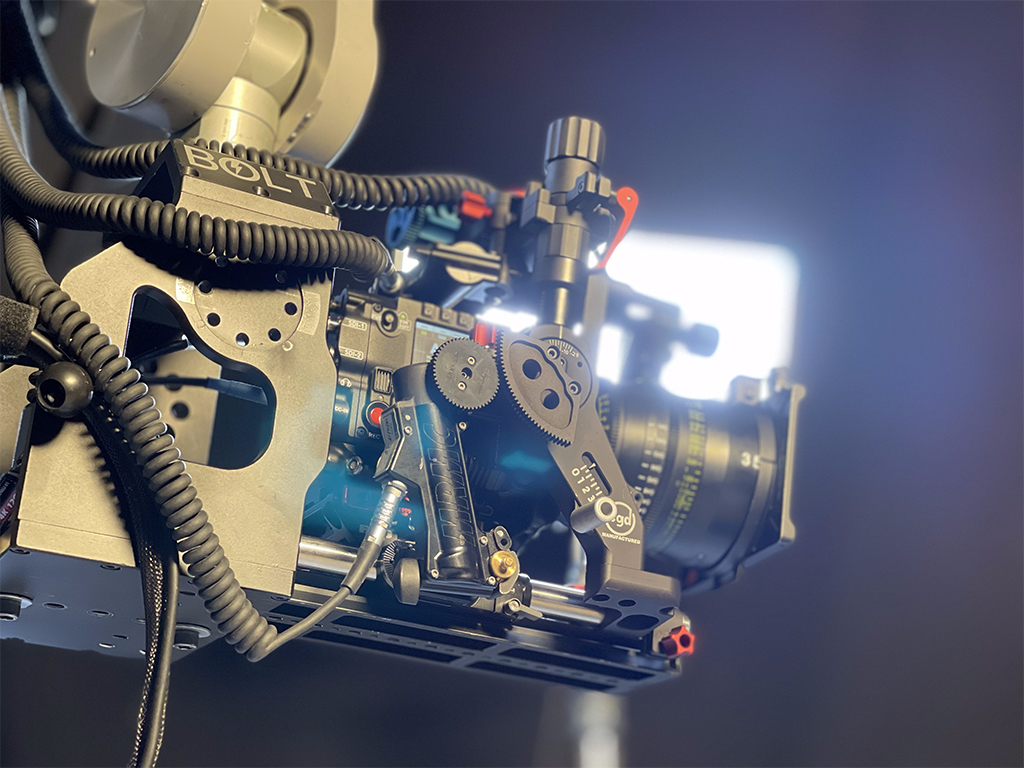
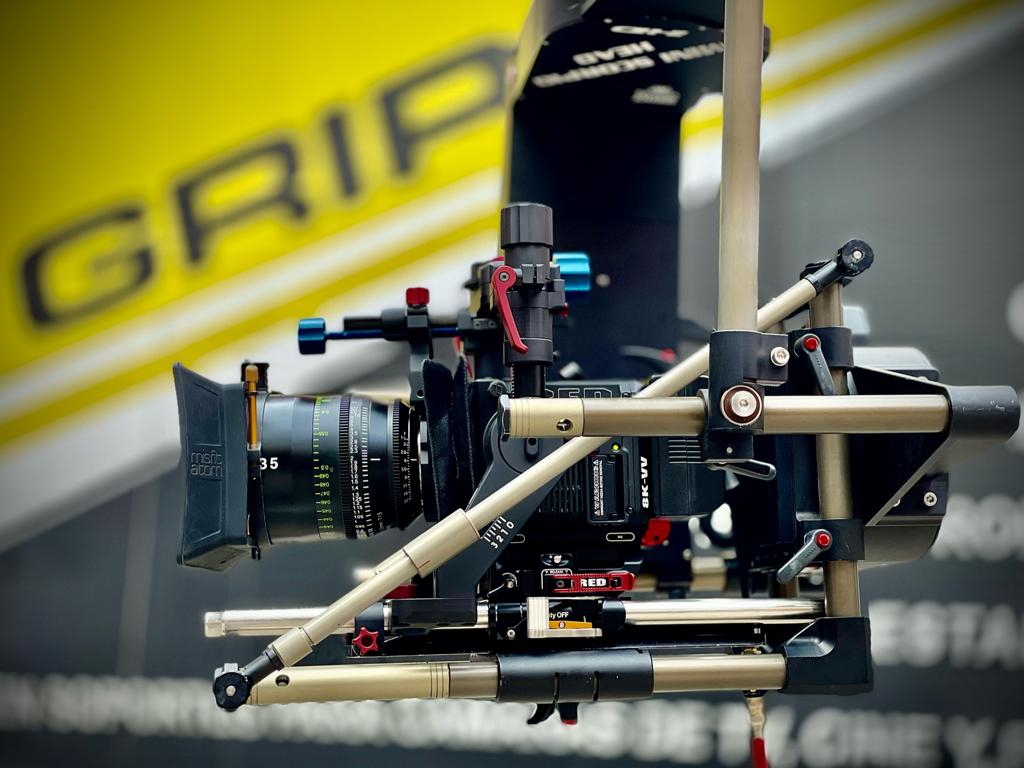
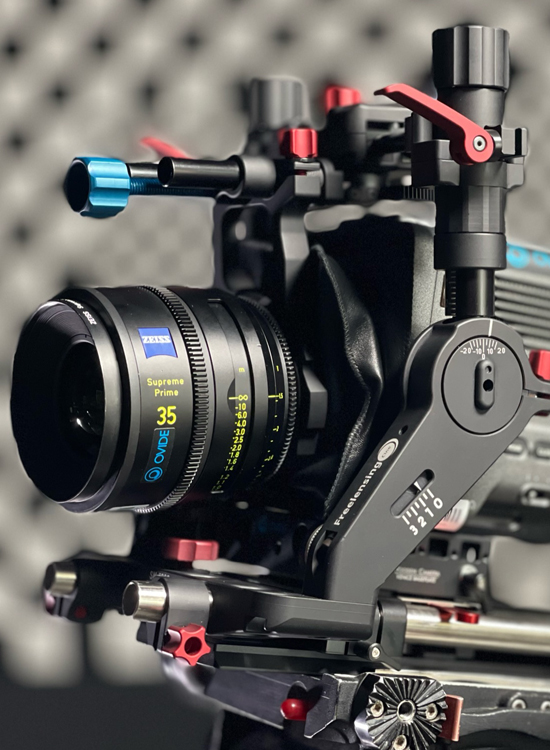
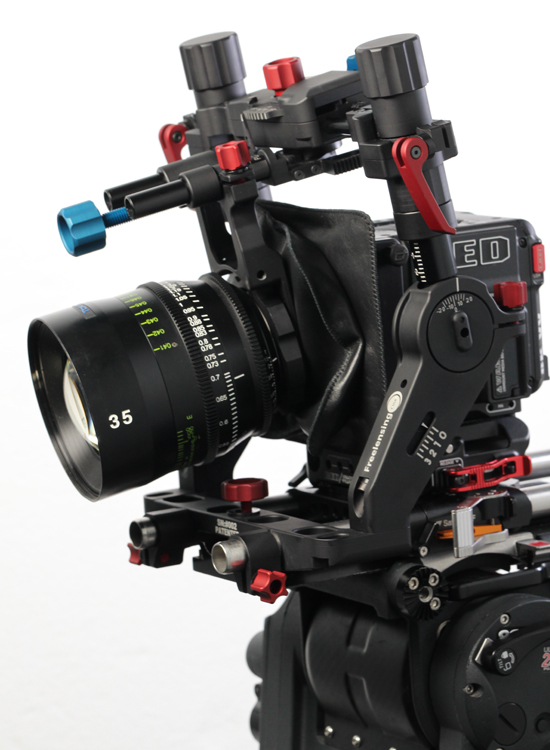
Freelensing Cine® is a system that leaves the lens virtually suspended in front of the camera sensor allowing the operator a fast and intuitive movement.
It allows for shifts, parallel and perpendicular to the focal plane, rotation of the optical center, and a combination of both pan and tilt movements.
Freelensing Cine® is Art & Technique
It allows to control the focal planes and to choose where to have them in the frame, both to increase the depth of field or to minimize it.
Currently works with ARRI Alexa Mini, Mini LF, 35, Sony Venice 1 & 2, RED V-Raptor XL, V-Raptor and DSMC2, although each camera has its own characteristics.
PRINCIPAL FEATURES
- UNIVERSAL, ON 19MM RODS AND ADAPTORS 15MM STUDIO
- CAMERA MOUNTS FOR: ARRI ALEXA MINI, MINI LF, 35, SONY VENICE 1 AND 2, RED V-RAPTOR XL, V-RAPTOR & DSMC2
- PL MOUNT (SPHERICAL, FIXED AND ZOOMS) UP TO 4 KG
- LPL
- MOTORIZABLE (DEPENDING ON MOTOR STRENGTH)
- CONVERTS ALL THE LENSES TO “CLOSE-FOCUS”
- THE DECISION AND THE DEGREE OF USE IS UP TO THE OPERATOR.
- NO LOSS OF BRIGHTNESS (*)
- CONTROL OF SHIFTS AND ROTATIONS.
- LIGHTWEIGHT
(*) (EXCEPT WHEN Z-AXIS IS NOT AT 52MM FOR PL AND 44MM FOR LPL)
- ROBUST
- PRECISE
- SIMPLE & INTUITIVE
- QUICK TO SET UP
- CREATIVE
- PURELY PHOTOGRAPHIC TOOL
- THE DECISION AND THE DEGREE OF USE IS UP TO THE OPERATOR.
- ANALOGUE
- NEW CHALLENGES FOR THE PHOTOGRAPHER —> CONTROL OF THE FOCAL PLANE
MARRIAGE BETWEEN CAMERA and FREELENSING CINE®
- Choose the appropriate camera mount (ARRI ALEXA MINI, MINI LF, 35, SONY VENICE 1 & 2, RED V-RAPTOR XL, V-RAPTOR & RED DSMC2)
- Fix the corresponding camera mount to the bellows
- Prepare de camera at the standard 19mm height
- Remove the PL or LPL mount that is placed on the camera body
- Insert the camera into the Freelensing Cine® or the other way around
- Align the Freelensing Cine® to the sensor of the camera
- Place the camera mount (already installed in the bellows of the Freelensing Cine®
- Set all Freelensing Cine® settings to “0” (except Z-axis)
- Finish adjusting
- Fix all camera peripherals (rods, etc)
- As of this moment…
FREE YOUR LENS, FREE YOUR MIND.
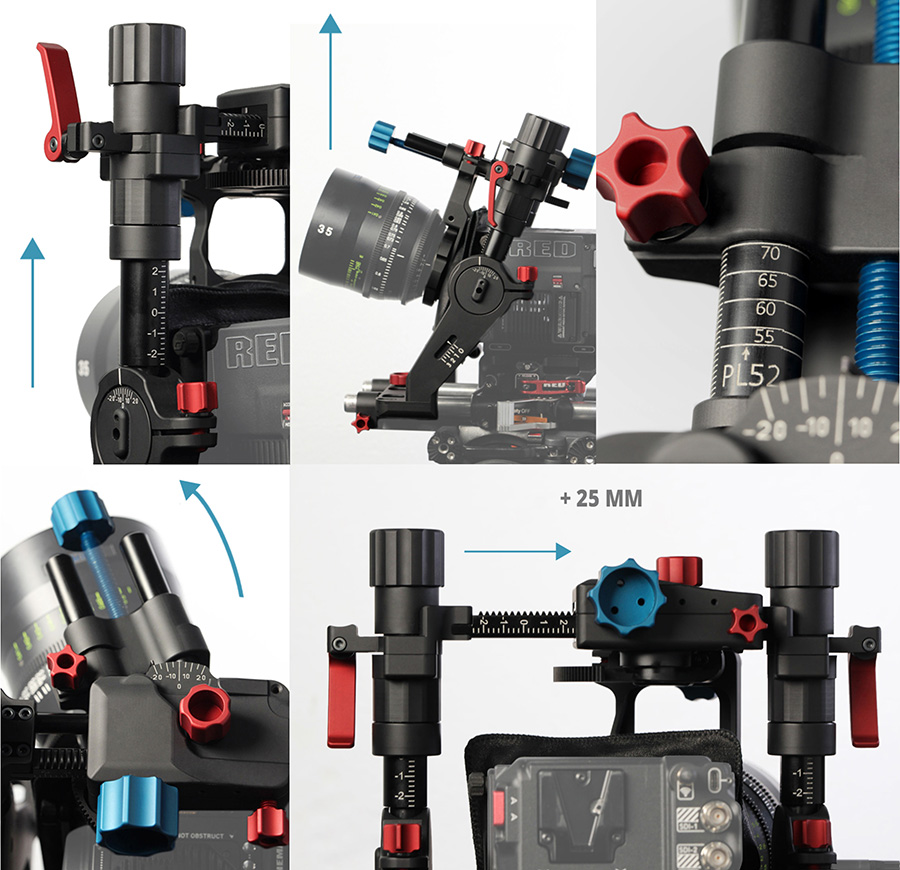
WHAT MOVEMENTS DOES FREELENSING CINE® OFFER?
- Y-Axis Shift Offset
- X-Axis Shift Offset
- Y-Axis Rotation (Tilt-Y)
- X-Axis Rotation (Swing-X)
- Z-Axis Shift Offset “Collimation”
- Combination of all the movements
To see all the examples in detail, CLICK HERE
Make sure to see all VIDEO EXAMPLES in our YOUTUBE CHANNEL
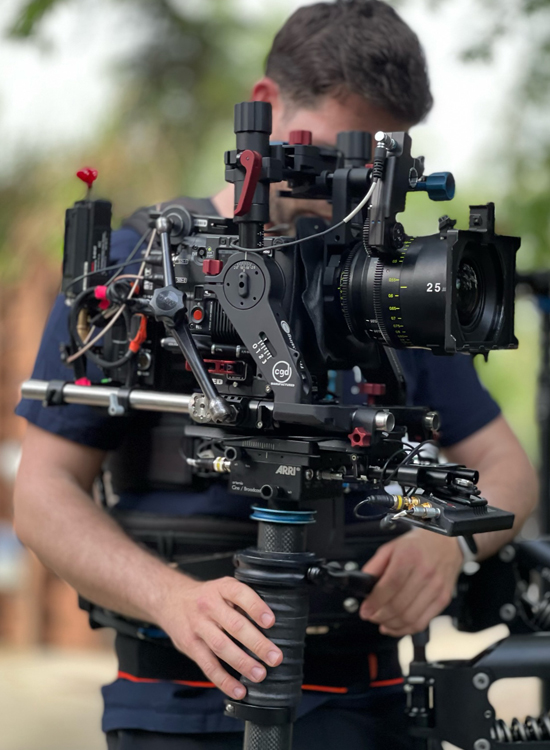
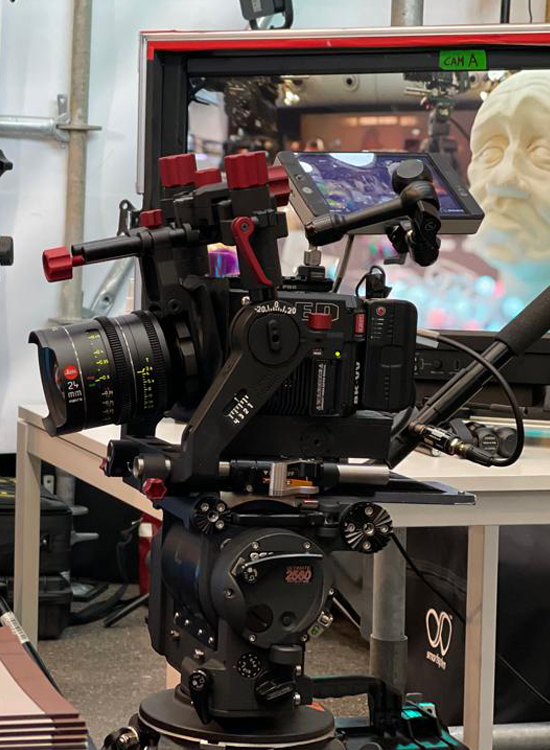
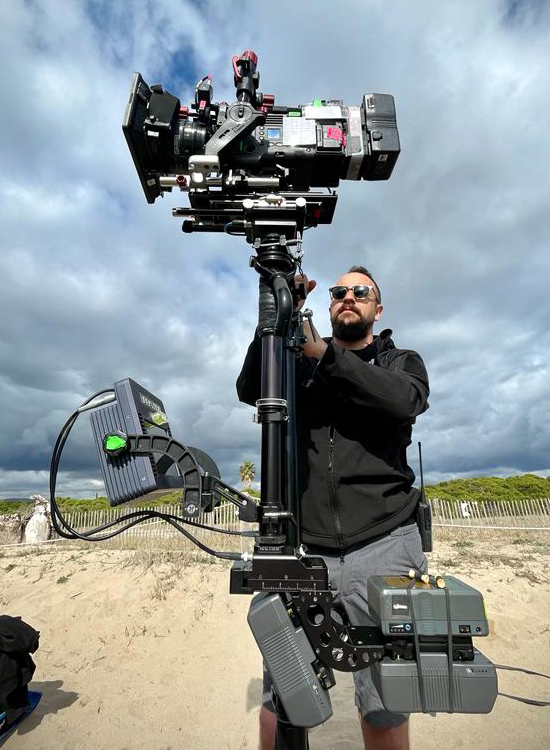
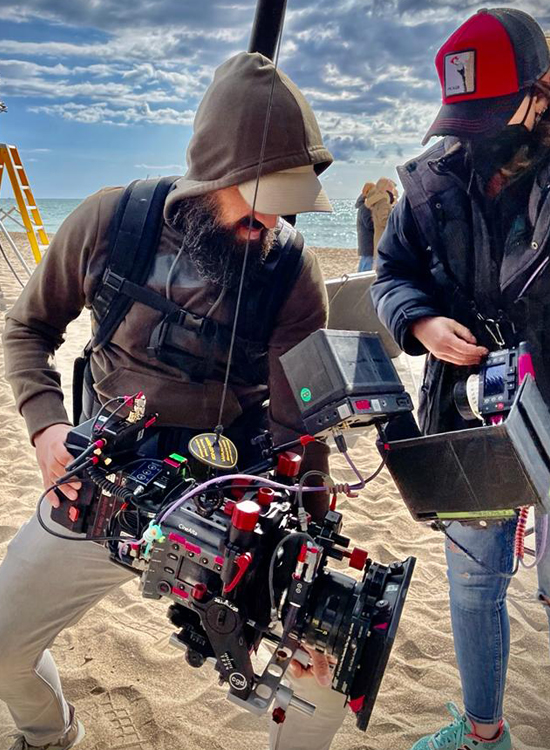
FREELENSING CINE® IN ACTION
FREELENSING CINE® IN THE MEDIA
ARTICLES
https://en.wikipedia.org/wiki/View_camera#Shift
https://en.wikipedia.org/wiki/Scheimpflug_principle
https://www.cined.com/freelensing-cine-professional-freelensing-mount-for-red-arri-sony/
https://welabplus.com/dima-portfolio/video-freelensing-cine/
https://www.afcinema.com/Une-decouverte-sur-le-Marche-de-Camerimage.html?lang=fr